

Update! shortening exhaust write up (LOTS OF PICS) w/ videos
ok guys so i finally got my stuff together and enough time to actually shorten my bolt on titanium two-brothers exhaust from 17 inches to 9.5 inches (the size of the can not including either endcaps or anything else) the end result turned out to be alot cleaner looking and a touch louder over stock at idle and alot throatier when the motor was under load (when i was getting on it) the bike does seem like it has a stronger more consistent power through the RPM range i dont know if its the placebo effect or my butt dyno but thats what it feels like. and this is how i did all of it
![Image]()
what started this process. to begin with the rivets on the bottom of the can were all loose and caused the can to shake around and everywhere else. on top of all that when i was riding into work the screws in there backed out and i lost two of em somewhere but two were caught by the gaurd.
so i parked it when i got home and parked it the next day because the weather man was calling for thunderstorms all day so i drove my dodge..... (didnt rain a drop the whole day) later on that day my brother asked to ride the 12 so i told him if he fixed the exhaust he could. 15 minutes later he had it all put back together. he even gave me gas money:thumbup:
![Image]()
so after i got off work today went over to my friends barn and got this whole thing started. i have the hanger off so now its just hanging on the loose busted rivets.
![Image]()
![Image]()
the first one we started drilling out the rivets with the pipe still on the bike got all but one drilled down with it on there but given i just rode from work all the way to his place. so we went in =to town to get supplies (rivets, food, other miscellaneous things that didnt really apply to the bike but helped)
the second is after we got back from town we pulled the screws out and took the pipe off and finished drilling the rivets out and knocked what was left of them out with a very small screwdriver.
![Image]()
end cap off you can see the steel wool around the core and the actual muffler packing around that
![Image]()
the old packing out of the can and in the trash
![Image]()
steel wool
![Image]()
empty can, the core in my exhaust was an 1/8" shorter that the outside can so it can slip into the end cap
![Image]()
![Image]()
after drilling and knocking out the rivets pull the outside can off and the core is mounted to the front of the pipe
![Image]()
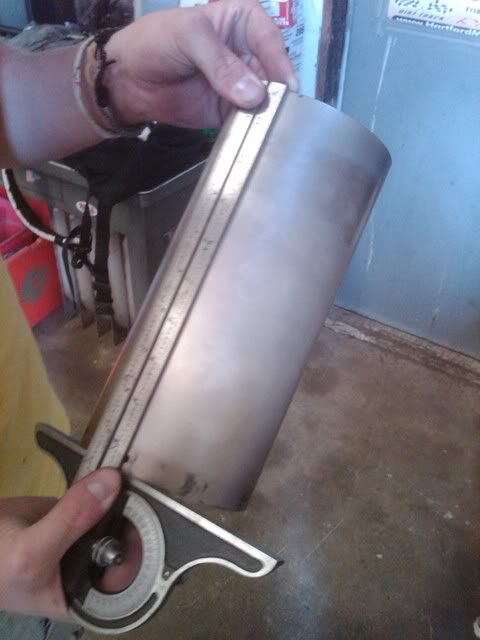
with the outside of the can off we measured marked and then taped off where we were gonna cut. and you can see actually how much i took off we cut in between the tape and the tag. we used a straight air tool with a cut off wheel. thats when we found out it was titanium from the bright white shower of sparks we got when cutting it.
![Image]()
after we cut it i slipped it back over to see how it looked and i was pretty happy with how it turned out as far as length
![Image]()
we took a straightedge and square and marked the new hole for the end cap and scribed them on
![Image]()
![Image]()
we set the shortened can back on and put the straightedge on the pipe measured with calipers and went down an eighth of an inch just like stock so it would fit up correctly. after we marked the baffle we wrapped it with tape to ensure a straight cut
![Image]()
![Image]()
with one hole drilled we put the ring on and riveted it in to to use as a template for the other holes and spacing. then we drilled the holes and then drilled out the rivet
![Image]()
![Image]()
we took the old steel wool wrap and slid it over the shortened core and then trimmed it to fit then wrapped the steel wire around it to keep it tight i also fitted the end cap to test the fit. after that i wrapped the steel wool and core with the MSR muffler packing i found in my garage then used blue tape to wrap it tight and then trimmed it down
![Image]()
i wanted to keep the two brothers name on the pipe because it was made by them. so after we cut the pipe down i drilled out the rivets that held the tag on so i could put it on the shorty. after we had all the packing on the core and bottom part of the muffler i tried out some ideas for placement on the tag and ended up with this
![Image]()
![Image]()
![Image]()
the rivets i used to put it all back together are 3/16th aluminum rivets. and this is my end result this way better shorter and ultimately more solid exhaust on my 12.
sorry if some of the pics are blurry i get the shakes in my hand. and also if the pics are too large could not figure out how to resize on photobucket i just got the loading pictures thing down to a science
hope this helps:crazyloco:
so today i got my phone out and took a couple videos for how it sounds a couple of them you cant see much because my phone was in my backpack facing the sun and it was too bright for it. the videos i took were just a walk around, start and idle, quick ride around (took me six tries to actually get it to keep it filming, and the last one is of my dad taking off on the 12
i start riding about a minute and a half in
ok guys so i finally got my stuff together and enough time to actually shorten my bolt on titanium two-brothers exhaust from 17 inches to 9.5 inches (the size of the can not including either endcaps or anything else) the end result turned out to be alot cleaner looking and a touch louder over stock at idle and alot throatier when the motor was under load (when i was getting on it) the bike does seem like it has a stronger more consistent power through the RPM range i dont know if its the placebo effect or my butt dyno but thats what it feels like. and this is how i did all of it

what started this process. to begin with the rivets on the bottom of the can were all loose and caused the can to shake around and everywhere else. on top of all that when i was riding into work the screws in there backed out and i lost two of em somewhere but two were caught by the gaurd.
so i parked it when i got home and parked it the next day because the weather man was calling for thunderstorms all day so i drove my dodge..... (didnt rain a drop the whole day) later on that day my brother asked to ride the 12 so i told him if he fixed the exhaust he could. 15 minutes later he had it all put back together. he even gave me gas money:thumbup:

so after i got off work today went over to my friends barn and got this whole thing started. i have the hanger off so now its just hanging on the loose busted rivets.


the first one we started drilling out the rivets with the pipe still on the bike got all but one drilled down with it on there but given i just rode from work all the way to his place. so we went in =to town to get supplies (rivets, food, other miscellaneous things that didnt really apply to the bike but helped)
the second is after we got back from town we pulled the screws out and took the pipe off and finished drilling the rivets out and knocked what was left of them out with a very small screwdriver.

end cap off you can see the steel wool around the core and the actual muffler packing around that
the old packing out of the can and in the trash

steel wool
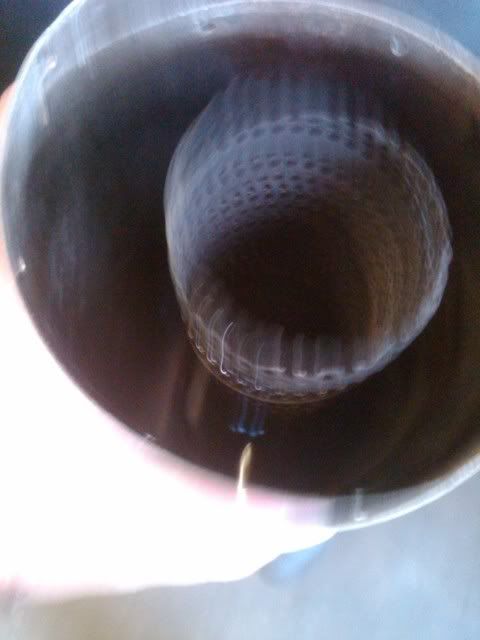
empty can, the core in my exhaust was an 1/8" shorter that the outside can so it can slip into the end cap


after drilling and knocking out the rivets pull the outside can off and the core is mounted to the front of the pipe

with the outside of the can off we measured marked and then taped off where we were gonna cut. and you can see actually how much i took off we cut in between the tape and the tag. we used a straight air tool with a cut off wheel. thats when we found out it was titanium from the bright white shower of sparks we got when cutting it.

after we cut it i slipped it back over to see how it looked and i was pretty happy with how it turned out as far as length
we took a straightedge and square and marked the new hole for the end cap and scribed them on


we set the shortened can back on and put the straightedge on the pipe measured with calipers and went down an eighth of an inch just like stock so it would fit up correctly. after we marked the baffle we wrapped it with tape to ensure a straight cut

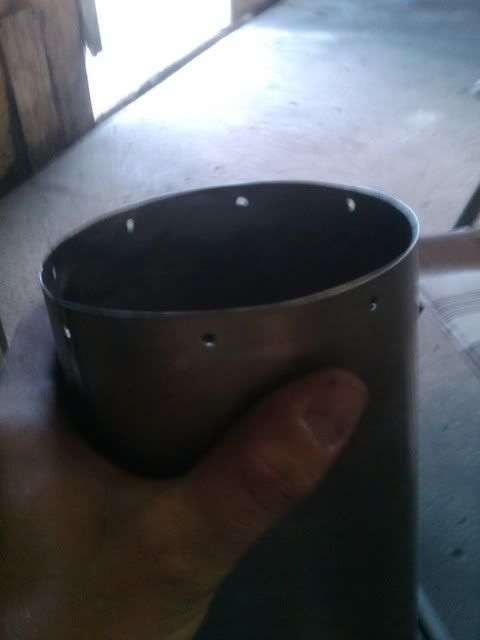
with one hole drilled we put the ring on and riveted it in to to use as a template for the other holes and spacing. then we drilled the holes and then drilled out the rivet

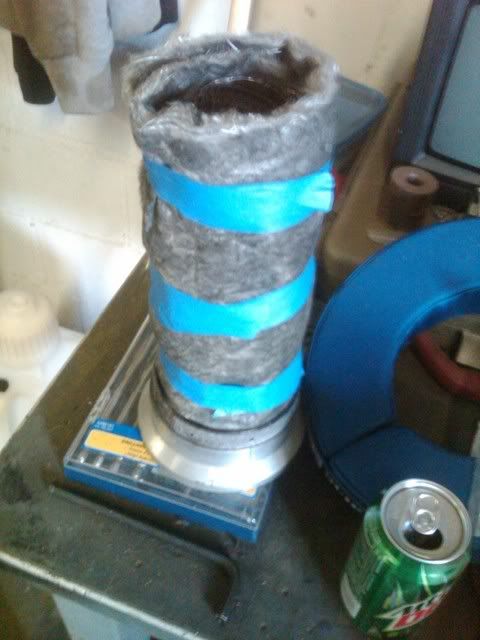
we took the old steel wool wrap and slid it over the shortened core and then trimmed it to fit then wrapped the steel wire around it to keep it tight i also fitted the end cap to test the fit. after that i wrapped the steel wool and core with the MSR muffler packing i found in my garage then used blue tape to wrap it tight and then trimmed it down

i wanted to keep the two brothers name on the pipe because it was made by them. so after we cut the pipe down i drilled out the rivets that held the tag on so i could put it on the shorty. after we had all the packing on the core and bottom part of the muffler i tried out some ideas for placement on the tag and ended up with this
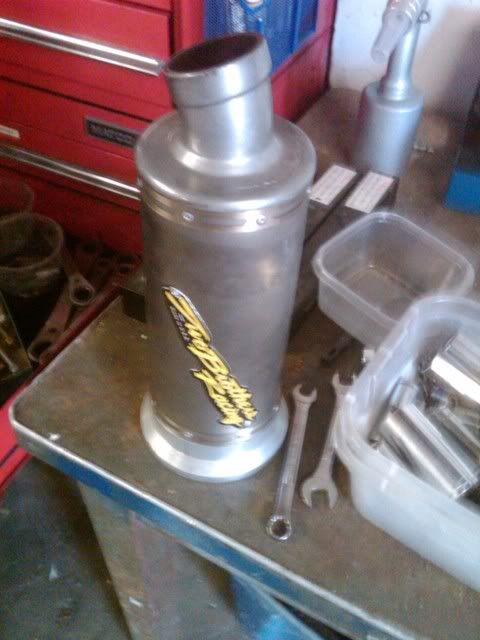


the rivets i used to put it all back together are 3/16th aluminum rivets. and this is my end result this way better shorter and ultimately more solid exhaust on my 12.
sorry if some of the pics are blurry i get the shakes in my hand. and also if the pics are too large could not figure out how to resize on photobucket i just got the loading pictures thing down to a science
hope this helps:crazyloco:
so today i got my phone out and took a couple videos for how it sounds a couple of them you cant see much because my phone was in my backpack facing the sun and it was too bright for it. the videos i took were just a walk around, start and idle, quick ride around (took me six tries to actually get it to keep it filming, and the last one is of my dad taking off on the 12


